


 Über uns
 Magazin
 Kontakt


Cleaning the water tank is one of the most important maintenance tasks for a motorhome. However, many camping enthusiasts underestimate how crucial clean water is for health and camping comfort. In this comprehensive guide, we'll show you how to properly clean your motorhome's water tank and avoid common mistakes.
After more than 15 years at campsites in Germany and Europe, we've experienced it all: from crystal-clear mountain spring water to questionable water sources at remote pitches. We've learned that the quality of the water in the tank depends not only on the source, but also significantly on the cleanliness and maintenance of the entire water system.
Why cleaning the water tank is so important
Years of experience at campsites from the Baltic Sea to the Alps have taught us that a neglected water tank can quickly become a health hazard. Bacteria, algae, and biofilms form within just a few weeks, especially in warm temperatures. These microorganisms can not only cause unpleasant odors and tastes but also lead to gastrointestinal problems.
Science shows us that Legionella, E. coli bacteria, and other pathogenic germs multiply exponentially in stagnant water. What seems safe to drink today can be a health hazard tomorrow. The situation becomes particularly critical at water temperatures between 25 and 45 degrees Celsius – precisely the range we find in our water tanks during the summer.
It becomes particularly problematic when you're planning longer trips – for example, when camping in eastern Germany , where you often want to be self-sufficient for days at a time. Then, clean drinking water isn't just a comfort, it's essential for survival. We remember a trip through the Mecklenburg Lake District where we had to manage for five days without an external water supply.
The different types of water tanks and their special features
Not all water tanks are the same, and this directly affects the cleaning method. In our consulting practice, we differentiate between various tank types:
Plastic tanks (PE/PP): The most common type in modern motorhomes. They are robust, lightweight, and relatively easy to clean. However, deposits can more easily accumulate in the often present corners and edges.
Stainless steel tanks: More hygienic and durable, but also more expensive. Acidic cleaning agents must be avoided, as these can damage the surface.
Flexible tanks: Space-saving and flexible in their use, but more difficult to clean and more prone to damage.
Fixed vs. removable tanks: Removable tanks are naturally easier and more thorough to clean, but are not feasible in every motorhome.
Cleaning the water tank in a motorhome: The right preparation
Before you begin the actual cleaning, you should gather all the necessary materials. The following items have proven useful in practice:
- Disinfectant specifically for drinking water tanks
- Cleaning tablets or powder
- Garden hose with adapter
- water pump or pressure spray
- Cleaning brushes with flexible handles
- Microfiber cloths
- Rubber gloves
- pH test strips
- flashlight or LED light
- Waterproof workwear
Pro tip: Invest in high-quality tank cleaning accessories. In our camper shop, you'll find specially designed camper accessories that will make your job considerably easier. The professional tank brushes with telescopic handles, in particular, have proven their worth in practice.
Proper preparation saves time and hassle later. Have all your materials within easy reach and plan at least 2-3 hours for the entire cleaning process. Heavily soiled tanks may take longer.
Step-by-step instructions: Cleaning the water tank in a motorhome
1. Complete emptying of the system
Open all taps in the campervan and drain the entire system. Don't forget the water heater and any bypass lines. The tank must be completely empty before you begin cleaning. Turn on the water pump to ensure all residue is removed.
2. Visual inspection and documentation
Use a flashlight or LED light to assess the tank's condition. Take photos of any unusual areas – this will help you later when checking your progress. Pay particular attention to:
- Discoloration on the walls
- Slimy coatings (biofilm)
- limescale deposits
- foreign bodies or sediments

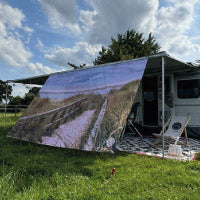
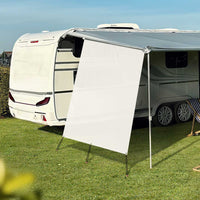
Personalized sunshade for you
Order now3. Mechanical pre-cleaning
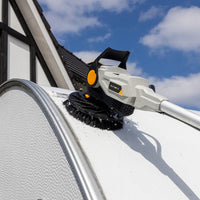
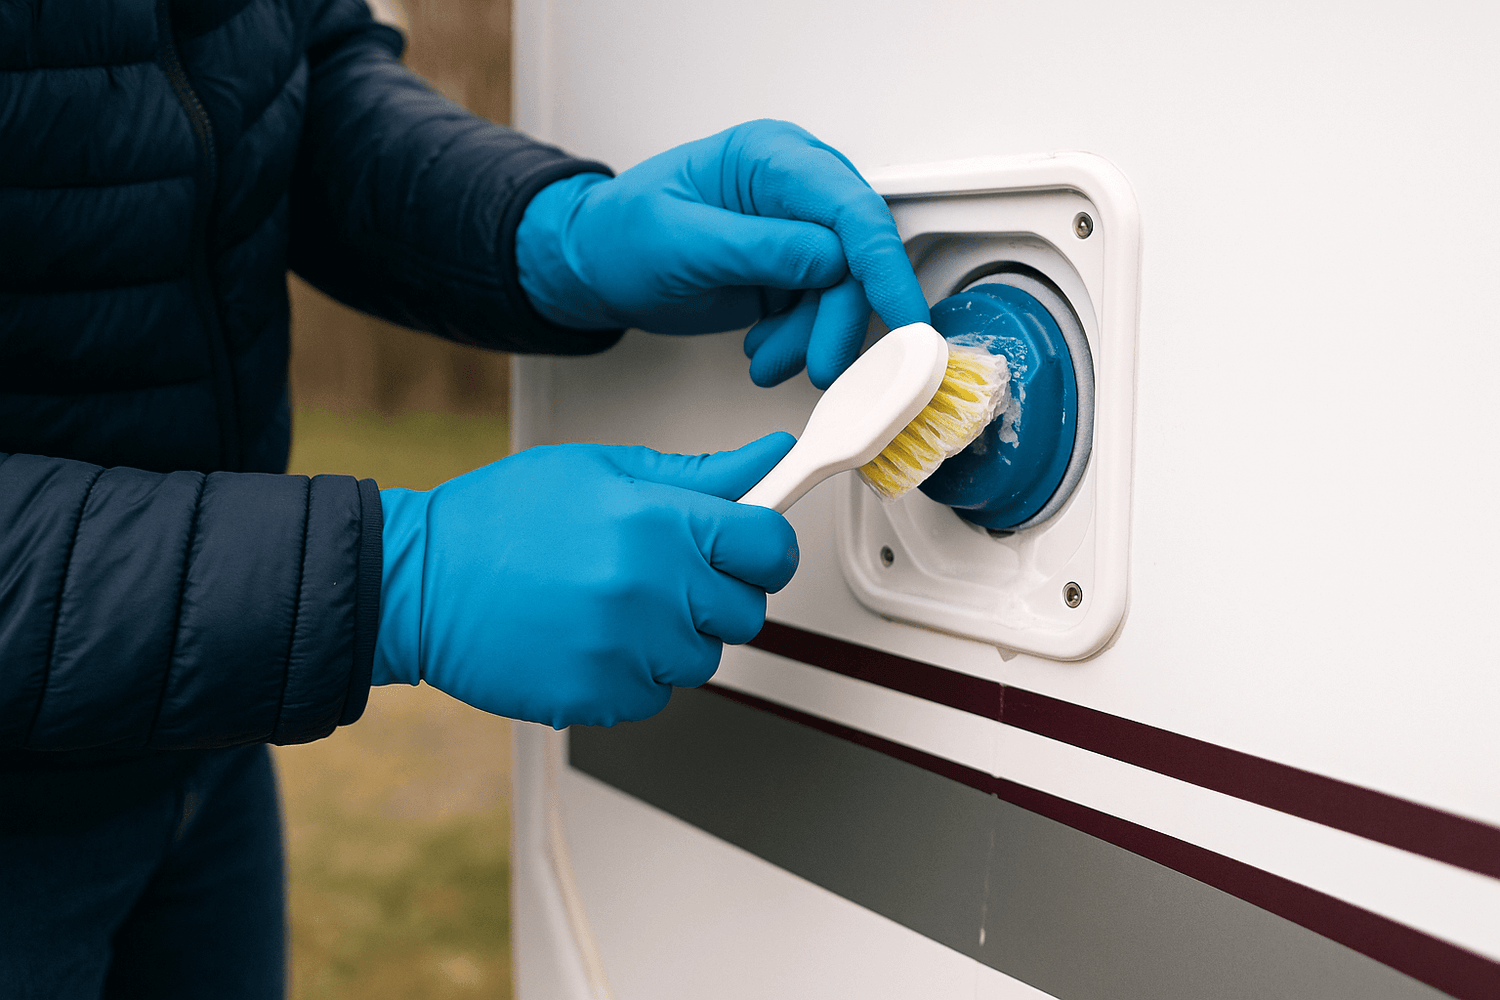
For heavily soiled tanks, mechanical pre-cleaning is recommended. Use a cleaning brush with a long, flexible handle for this purpose. Deposits tend to accumulate, especially in the corners and at the bottom of the tank. For permanently installed tanks with small openings, special tank cleaning brushes with movable heads are helpful.
4. Perform dry cleaning
You have several options for chemical cleaning:
Chlorine method (classic):
- Mix 1 liter of water with 1 tablespoon of chlorine bleach.
- Add the mixture to the tank
- Fill with fresh water to about 1/4 tank volume.
- Leave on for 2-4 hours
- Shake or swirl every 30 minutes
Special tank cleaner (recommended):
- Dose cleaning tablets according to the manufacturer's instructions.
- Dissolve with warm water
- Observe the exposure time (usually 30-60 minutes)
- Ensure even distribution by driving or moving.
Hydrogen peroxide method (environmentally friendly):
- 100ml of 3% H2O2 to 10 liters of water
- Particularly effective against biofilms
- Leave on for 1-2 hours
5. Treat the piping system as well.
Don't forget the entire plumbing system! During the contact time, open all taps for a few seconds so that the cleaning solution also reaches the pipes. This is particularly important because bacteria and deposits can also form there.
6. Thorough rinsing and neutralization
After the contact time, the tank must be rinsed several times with clean water. We recommend at least three complete rinse cycles until no chlorine odor or cleaning agent residue is detectable. Test with pH strips to ensure the water is neutral again.
Cleaning the water tank in a motorhome: frequency and timing
Many campers are concerned about the optimal cleaning frequency. Based on years of experience, we recommend the following intervals:
- Intensive use (year-round): Every 2-3 months
- Seasonal use: At the beginning and end of the season
- After extended periods of inactivity: Always before the first drive
- In case of problems: Immediately if you notice any changes in smell or taste.
- After filling from dubious sources: Within one week
Cleaning before and after winter storage is particularly important. Many campers forget this and are then surprised by problems at the start of the season. In our workshop, we regularly see tanks that have become veritable breeding grounds for germs after winter.
Professional tips for particularly stubborn cases
Biofilm removal
Biofilms are slimy bacterial coatings that adhere to tank walls. They consist of a matrix of bacteria that protect each other and are therefore particularly resistant. Normal cleaners are often insufficient to remove them. Our insider tip: Let a mixture of warm water and vinegar (10:1 ratio) soak overnight. The acid dissolves the protective layer, making the bacteria vulnerable.
Combat limescale deposits
In areas with hard water, limescale deposits form quickly, which are not only unsightly but can also provide a breeding ground for bacteria. A citric acid solution (50g per 10 liters of water) helps against this. Caution: Do not use on stainless steel tanks! Use a special stainless steel cleaner instead.
Odor removal
Persistent odors are usually caused by organic compounds produced by bacteria. These often disappear with a baking soda solution (3 tablespoons to 10 liters of water). This method is particularly gentle and environmentally friendly. The sodium bicarbonate neutralizes acids and binds odor molecules.
The right equipment makes all the difference.
When developing campervan conversion ideas, we always place great importance on accessible water tanks. The easier the cleaning, the more regularly it will be done. Consider how you can best access your tank right from the start of the conversion process.
Modern motorhomes often have inspection hatches or even transparent tank walls. This not only makes cleaning easier, but also allows you to check the fill level and overall cleanliness. Retrofitting older vehicles can sometimes be worthwhile.
A transparent tank shows you immediately when deposits form. We installed a partially transparent tank in our own motorhome – the best investment we've ever made for water hygiene.

Preventive measures for permanently clean water
The best cleaning is the cleaning that isn't needed at all. These preventative measures will help keep your water tank cleaner for longer:
Pay attention to water quality when filling:
- Only fill in from trusted sources
- Use water filters
- Rinse the hose before use.
- Never fill directly from stagnant water.
Regular use:
- Do not leave water standing for weeks
- Empty the tank during longer periods of inactivity
- Flush the pipes regularly.
- Replace completely at least every 3 days.
Use additives and aids:
- Silver ion products for preservation
- UV disinfection systems (for luxury models)
- Activated carbon filter for better taste
- Tank preservation during extended periods of inactivity
Mistakes you should definitely avoid
In our career as camping consultants, we repeatedly observe the same mistakes:
- Infrequent cleaning: "The water still looks clear" - a dangerous misconception! Bacteria are invisible.
- Unsuitable cleaning agents: Household cleaners, dish soap, or even drain cleaners do not belong in the drinking water tank. They can leave toxic residues.
- Incomplete rinsing: Cleaning agent residues are at least as harmful to health as the bacteria they are supposed to fight.
- Neglect of the pipes: The tank is clean, but the pipes and fittings are forgotten. Germs also accumulate here.
- Incorrect storage of cleaning equipment: Hoses and cleaning devices themselves must be stored clean and dry.
Cleaning the water tank in the motorhome in winter
The winter months present particular challenges. When winterizing your motorhome, you should not only empty the water tank, but also thoroughly clean and disinfect it. This will prevent bacteria or mold from forming during the cold season.
For winter storage, we recommend complete disinfection followed by drying with warm air. Leave all taps open to allow residual moisture to escape. A small bag of rice or silica gel in the tank will absorb any remaining moisture.
Thorough cleaning is essential for spring commissioning after winter. The water system has been out of service for months and needs a complete refresh. Even if the tank looks empty, bacterial spores and other microorganisms may have accumulated over the winter.

Modern tools and technologies
The camping industry is constantly evolving, and that includes water tank maintenance. Ultrasonic cleaners for smaller tanks, UV sterilizers, and automatic flushing systems make maintenance significantly easier. Feel free to visit our camper shop – there you'll find the latest innovations for optimal water hygiene.
Of particular interest are modern monitoring systems that continuously monitor water quality and provide timely warnings of potential problems. These systems measure parameters such as pH value, conductivity, and even bacterial count.
Legal aspects and regulations
Many campers are unaware that there are also legal aspects to cleaning the water tank in a motorhome. In Germany, the Drinking Water Ordinance also applies to mobile water systems. Regular inspections and documentation are mandatory for commercial motorhome rentals.
Conclusion: Clean water for carefree camping adventures
Regularly cleaning your motorhome's water tank isn't a chore, but an investment in your health and camping comfort. With the right technique, the appropriate tools, and a well-thought-out maintenance plan, you can ensure you always have clean, fresh water available.
Remember: A clean water tank is essential for relaxing camping trips, whether you're taking a spontaneous weekend getaway or planning a multi-week tour. The time and effort you invest in regular maintenance will pay off many times over with carefree camping experiences.
After all these years on the road, we can assure you: there's nothing worse than contaminated water in the middle of nowhere. Preventive maintenance not only saves you health problems, but also the stress and expense of an emergency tank cleaning far from home.
Follow these instructions, and you'll never have problems with contaminated water again. Your camping adventures can begin!